Depending on what is already installed on your computer, the installation of MusicManager© (or possibly an update or repair installation) consists of one or more steps. On this page we discuss all the steps and go through them one by one.
The download of MusicManager© consists of one file: MusicManagerSetup.exe. Double click on this file and the installer will place and activate the MusicManager© files in a few steps. The program starts automatically with a Dutch or English start screen.
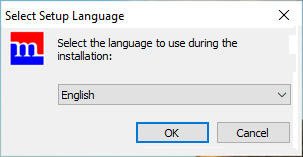
Choose the desired language (Dutch or English) and click "OK" to continue.
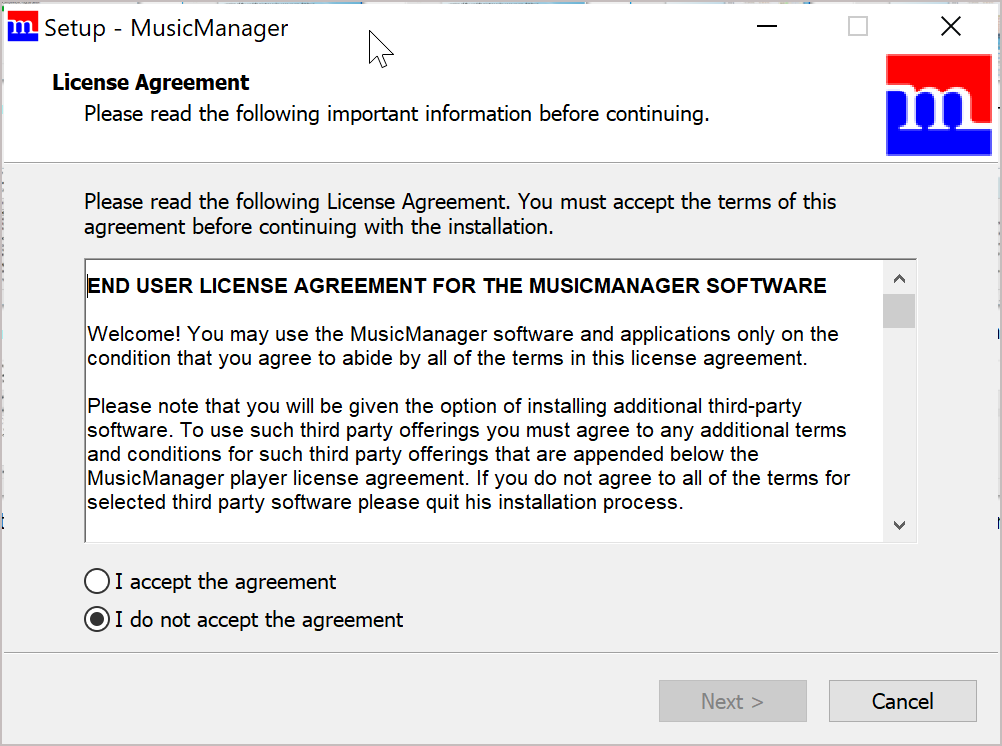
Select "I accept the agreement" and click "Next".
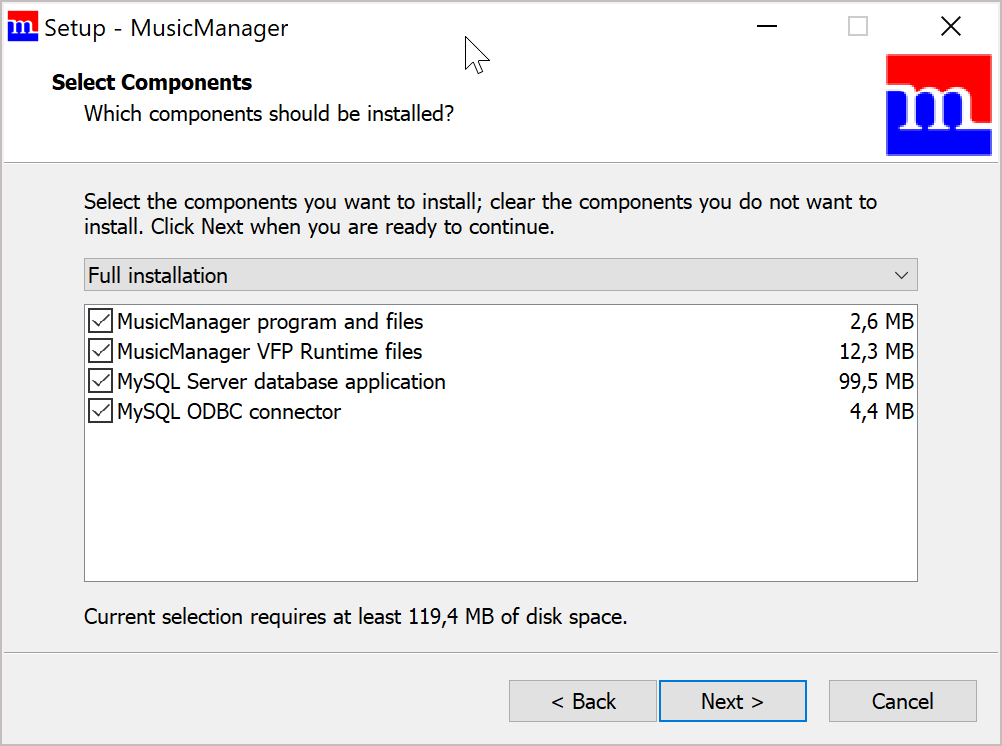
During a first installation, all components are checked and a "Full installation" is preselected in the gray selection bar. Then click on "Next".
Note: With a repair installation ("Custom installation") or update ("Install Update") you normally only need to select "MusicManager program and files", unless you suspect that a component has been removed, is not functioning correctly anymore or is missing.
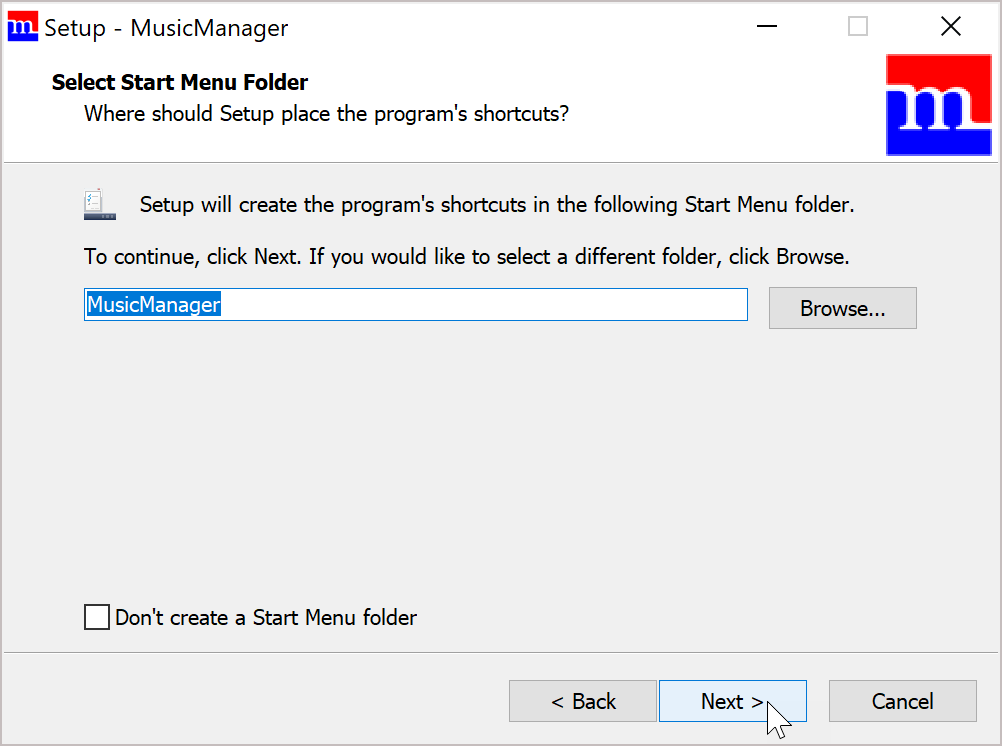
The installer will place MusicManager© in the Windows menu in the folder "MusicManager" with a shortcut. Click "Next" to set this up or check "Don't create a Start Menu Folder".
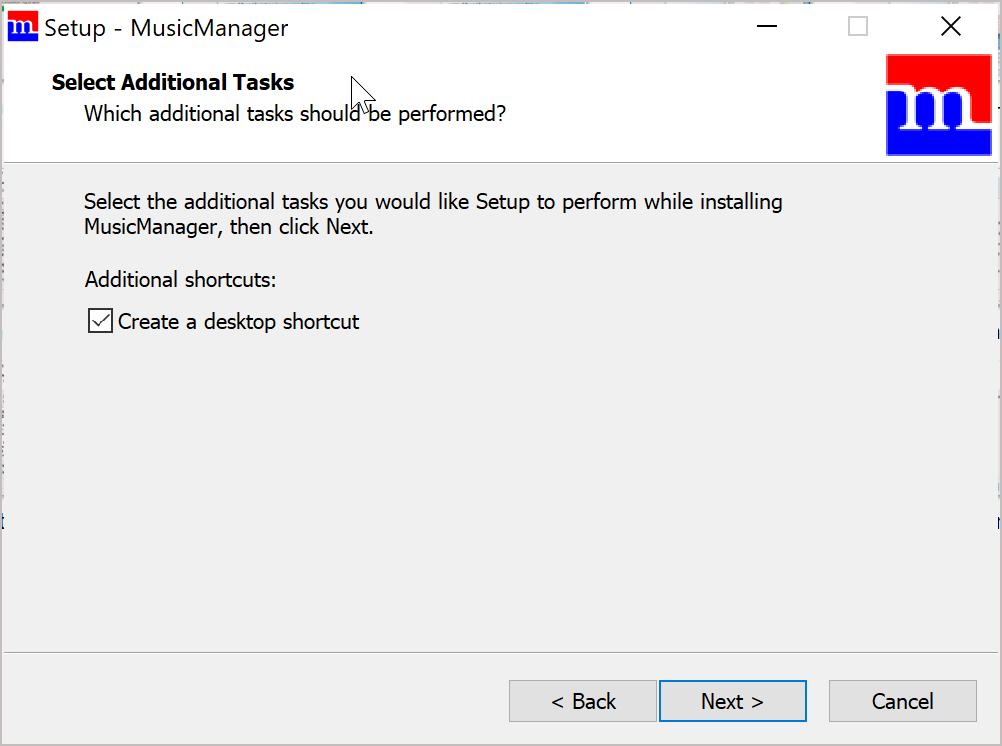
Leave the check mark here and create and the installer will create a shortcut for "MusicManager" on the desktop. Click "Next" for the next step.
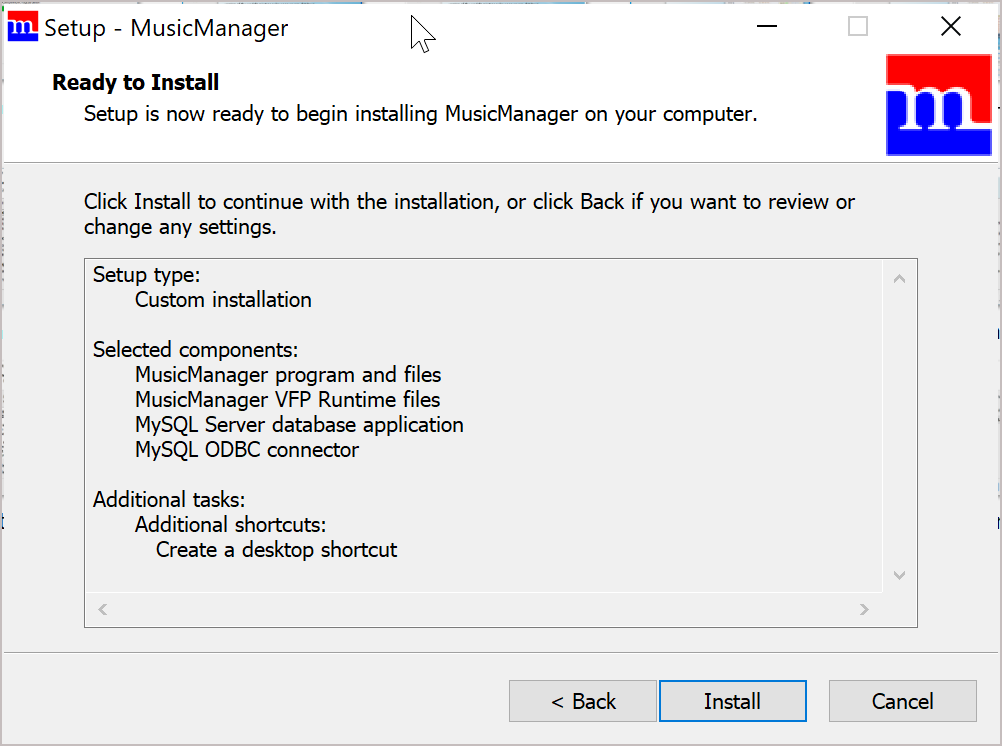
The preparation of the installation has been completed and you can now see exactly what the program is going to install. Click "Install" to start this installation now. If this is not correct, click on "< Back" to adjust your selection.
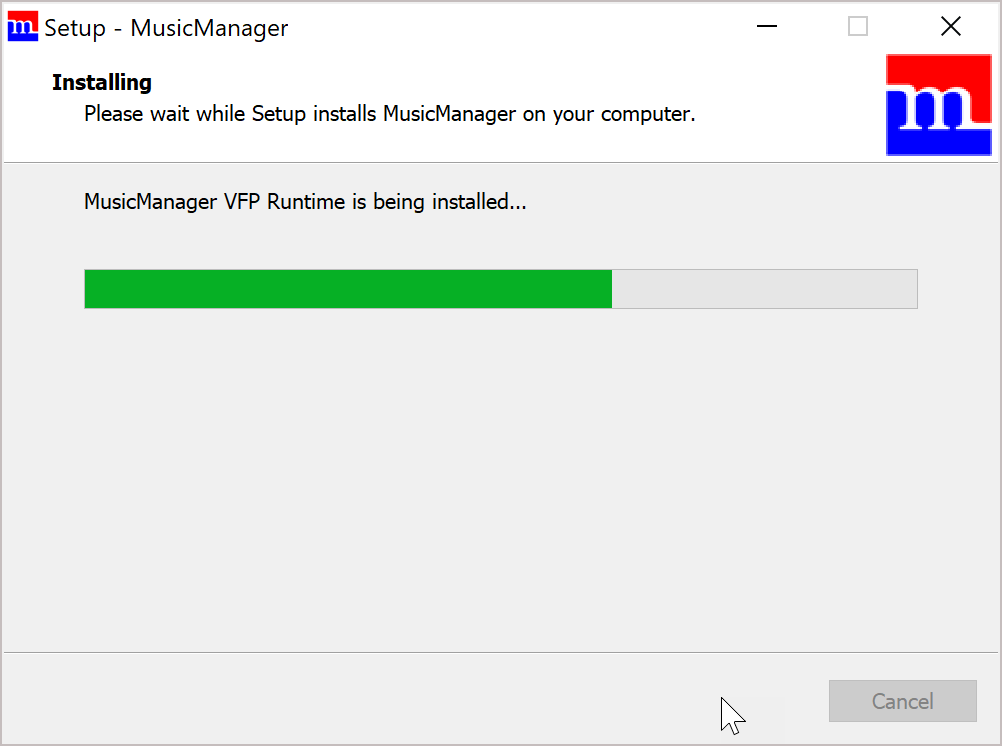
The installation progress is displayed. Do nothing for a while and think, for example, of the album you want to listen to first with MusicManager.
Note: With a full installation, a separate installation screen for MySQL Server will also appear. For this installation, follow the steps on our MySQL installation page. Click here or at the bottom of this page on the "MySQL Server" heading to go to this page. The installation of the MySQL ODBC connector is performed invisibly if it is checked. A separate installation program will start for the possible installation of MySQL Server.
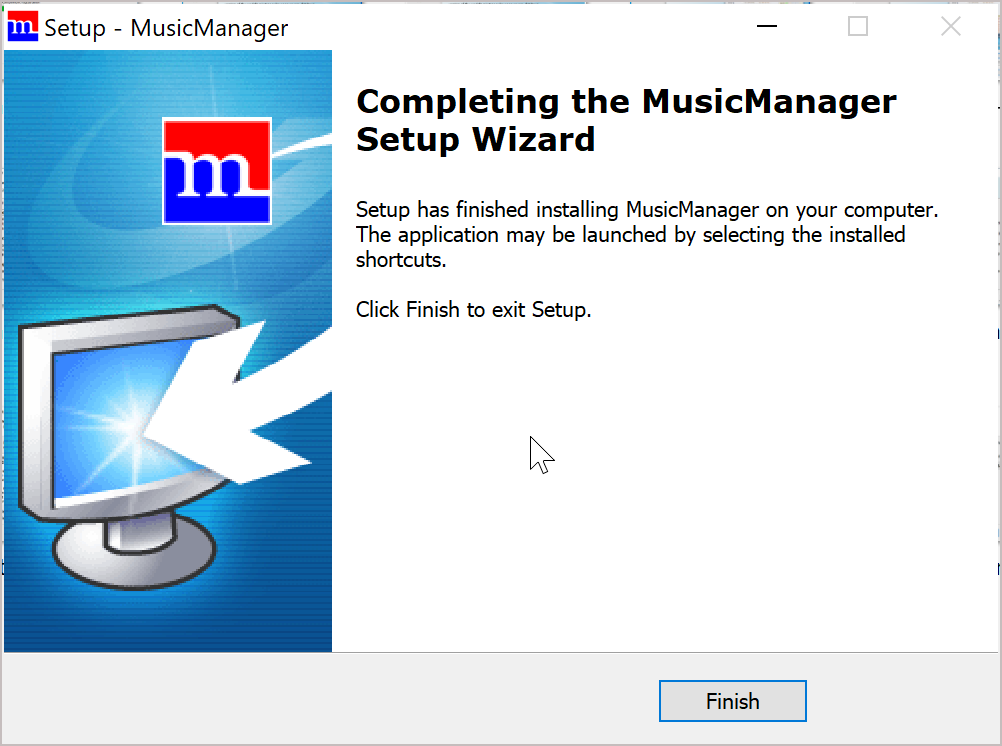
The installation is ready! You can now click "Finish".
Note: MusicManager© saves some installation files for possible use outside the installation program in the ProgramData folder on the C: drive.
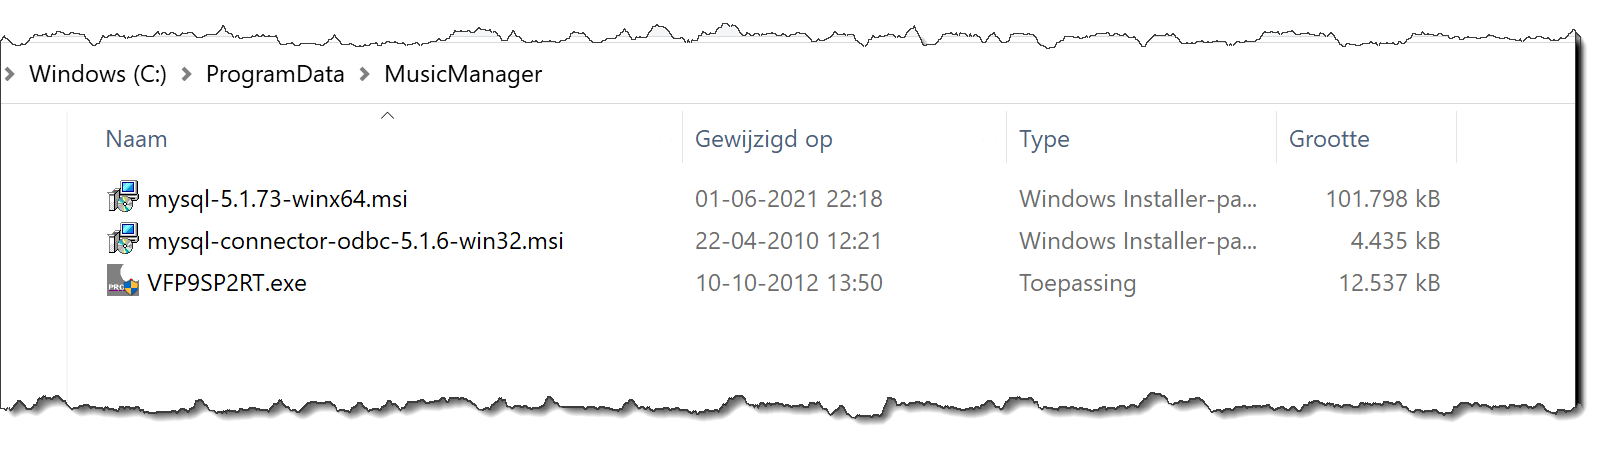
If you have limited disk space, you can delete these files if you want, because the installation file MusicManagerSetup.exe is generally sufficient.
Starting MusicManager©
When starting MusicManager© for the very first time, we check that the following is installed on your computer: (1) MySQL Server and (2) MySQL ODBC Connector. We need to be able to store our music data somewhere and we need to be able to connect to this database. If these components are not installed, MusicManager will activate the installation procedure for this. Use the information according to the links below for this.
|
|
|||
| On the MySQL Server installation page we will go through all the installation screens step by step and indicate which settings you should choose. You don't have to make an effort to understand everything, it's just a matter of installing MySQL quickly and correctly on your computer. | On the MySQL ODBC connector installation page we go through all the installation screens step by step and we indicate which settings you should choose. You don't have to make an effort to understand everything, it's just that you install MySQL ODBC on your computer quickly and correctly. | |||
Uninstalling MusicManager©
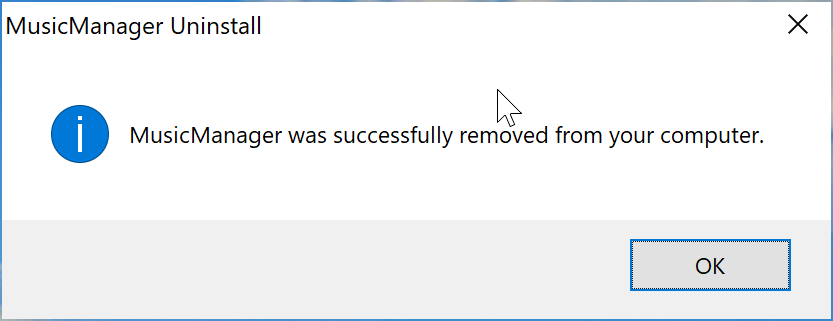
Go to the Windows Control Panel and open "Programs and Features". Click on "MusicManager version 1.xx.xx" and choose Uninstall.
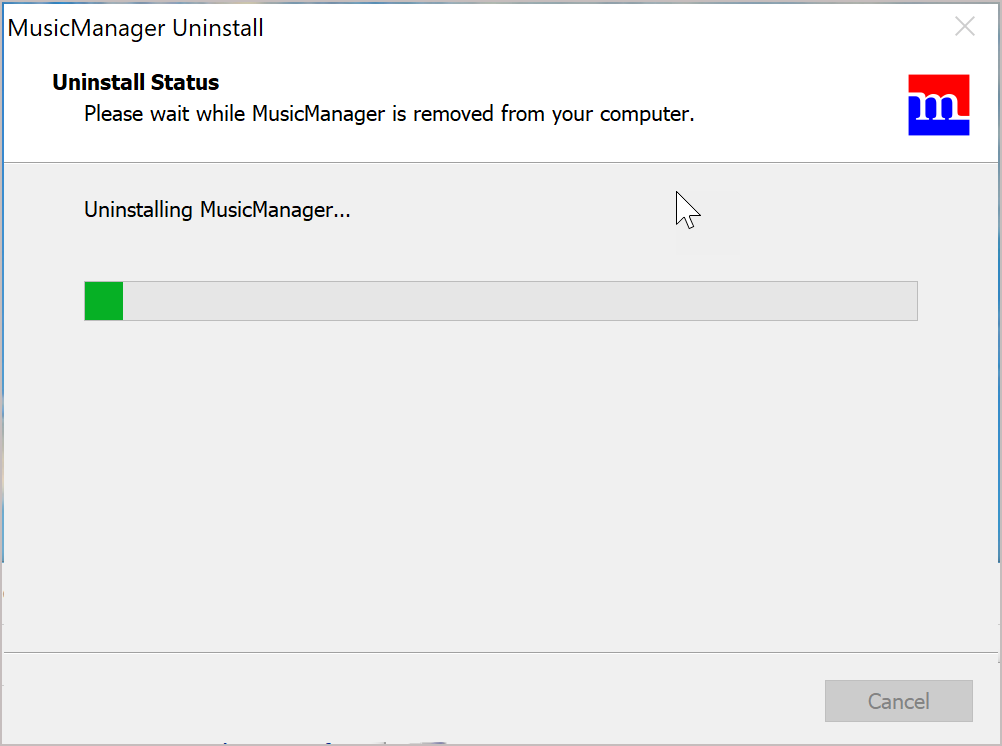
When you have fully installed MusicManager© according to the MusicManager© installation program, you will uninstall all MusicManager programs and files via the control panel. In other words MySQL Server and MySQL ODBC connector are also uninstalled! So think before you just delete something.
Note: After uninstalling MySQL Server, the MySQL database files (fortunately) still remain on your disk. If you accidentally uninstall MySQL Server, you will not immediately lose everything. To restore normal operation you have to reinstall MusicManager©, MySQL Server and MySQL ODBC connector. You data will be accessible again. If you really want to delete this data, you have to do this manually by deleting the folder "C:\ProgramData\MySQL" with all its contents.
Finally...
Last but not least, Musicmanager© will never, ever make any changes to your music files and/or folder structure; neither when installing nor when uninstalling the program.